No description
https://github.com/mssun/passforios
| fastlane | ||
| icon | ||
| pass | ||
| pass.xcodeproj | ||
| passExtension | ||
| passKit | ||
| passKitTests | ||
| passTests | ||
| screenshot | ||
| .gitignore | ||
| .travis.yml | ||
| _config.yml | ||
| Cartfile | ||
| LICENSE | ||
| Podfile | ||
| README.md | ||
Pass

![]()


![]()
Pass is an iOS client compatible with ZX2C4's Pass command line application. It is a password manager using GPG for encryption and Git for version control.
Pass for iOS is available in the App Store
with the name "Pass - Password Store". If you want to join the iOS beta via
Testflight, drop an email to developer@passforios.mssun.me. Thank you.
Features
- Try to be compatible with the Password Store command line tool
- Support to view, copy, add, and edit password entries
- Encrypt and decrypt password entries by PGP keys
- Synchronize with your password Git repository
- User-friendly interface: search, long press to copy, copy and open link, etc.
- Support one-time password (OTP) tokens (QR code and otpauth URI)
- Written in Swift
- No need to jailbreak your devices
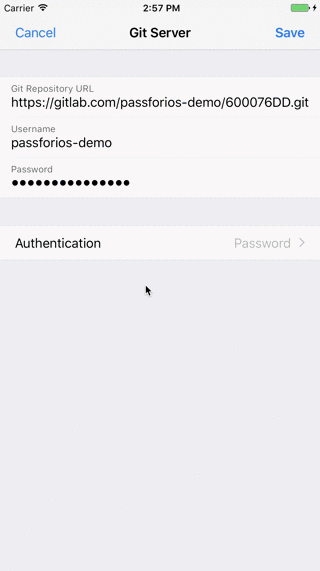
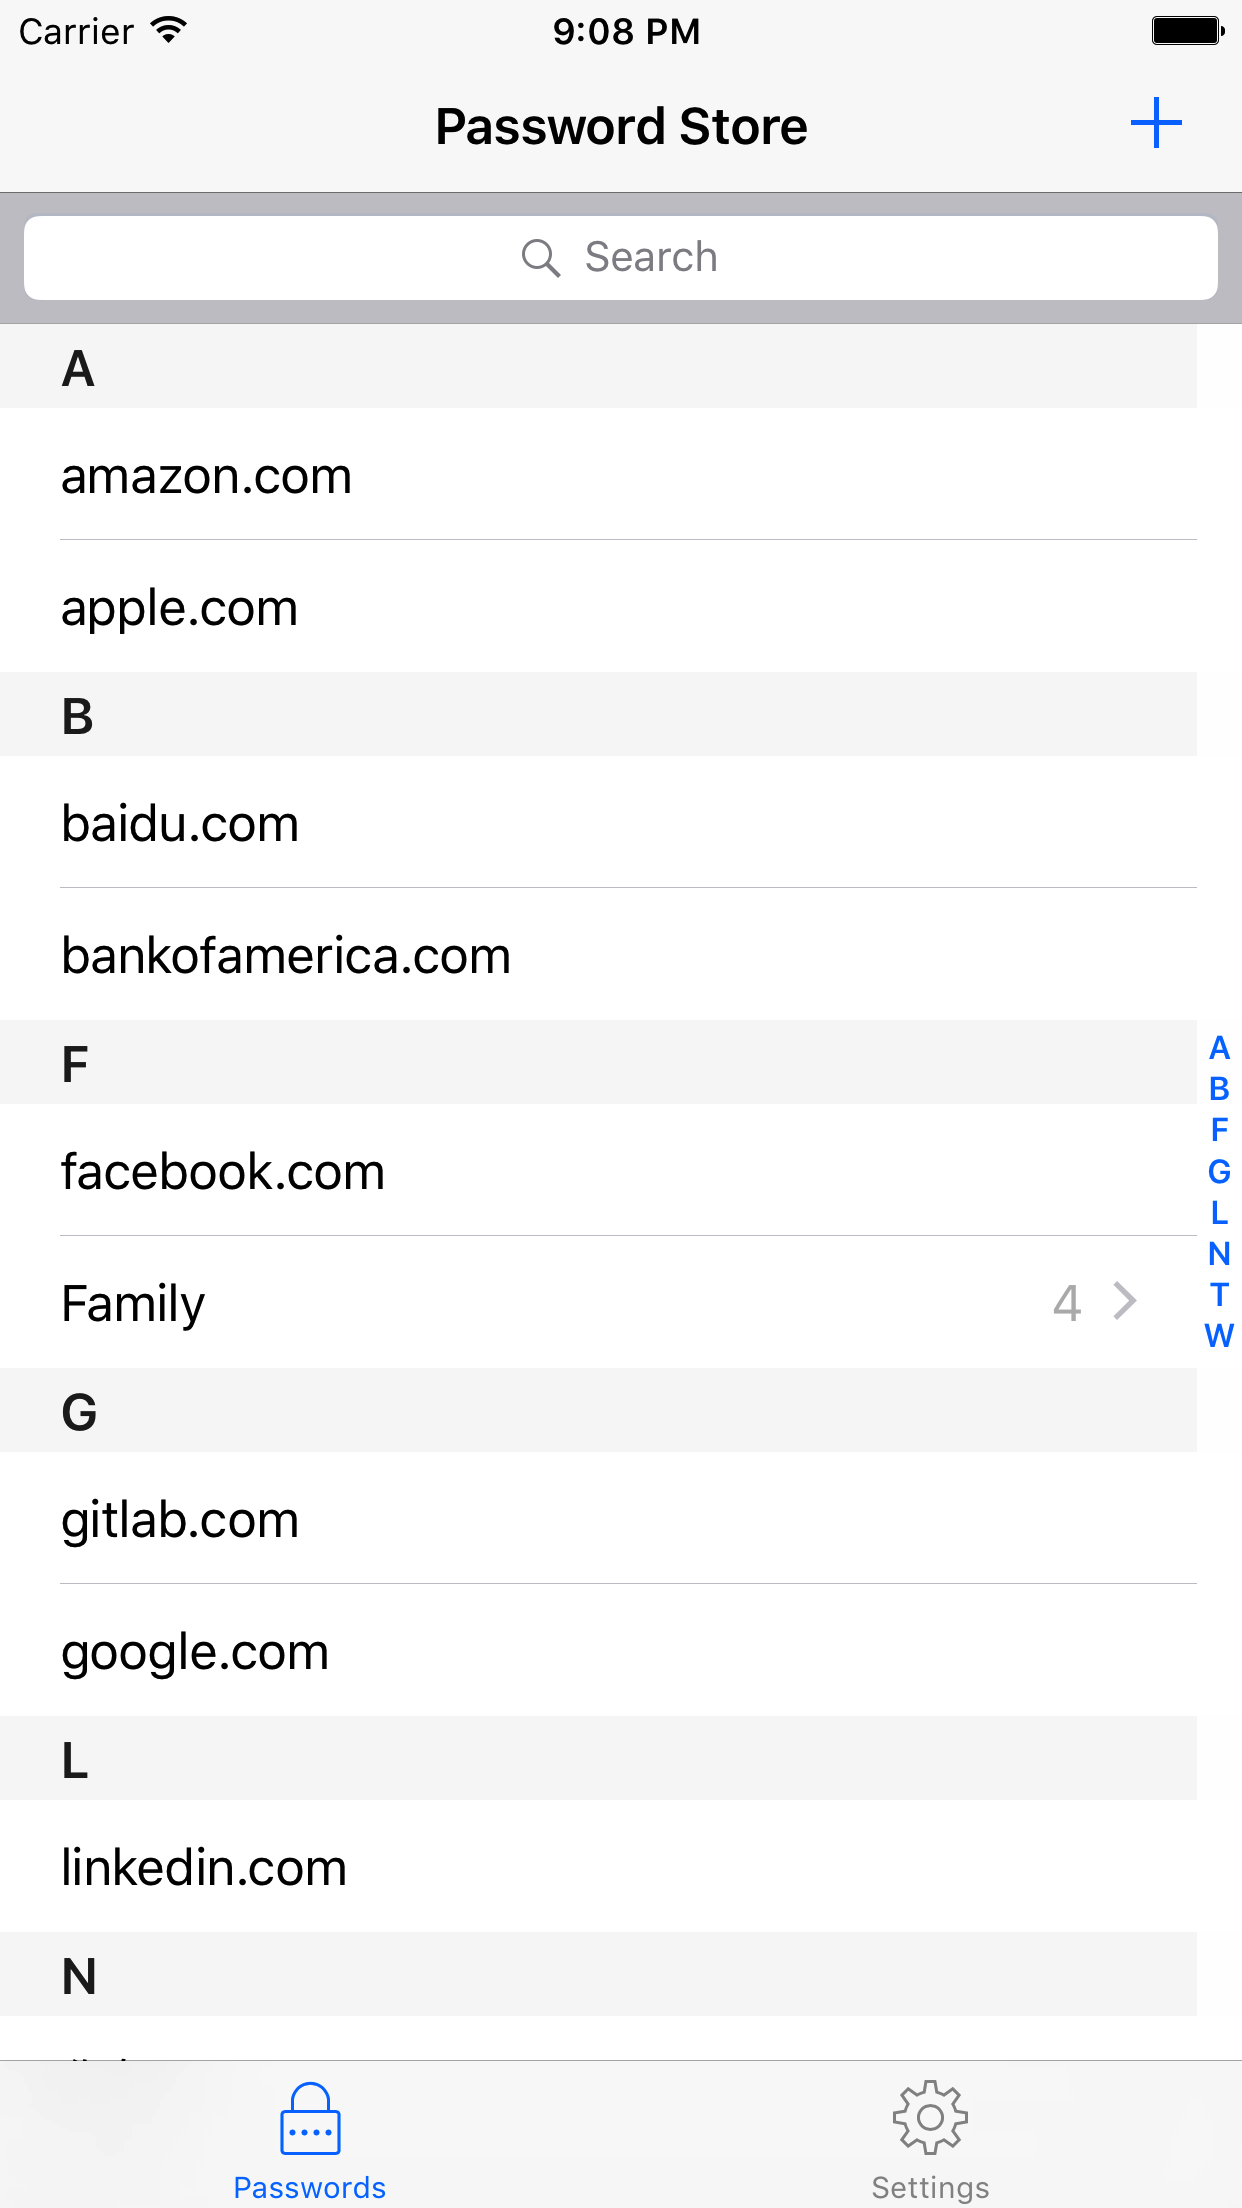
Screenshots


Usages
- Setup your password-store (official
Passintroduction) - Get Pass for iOS from the App Store or build one by yourself
- Start to use Pass for iOS on your iPhone/iPad (quick-start guide)
For more, please read the wiki page.
Building Pass for iOS
- Install libtool, automake, cmake, carthage, and cocoapods:
brew install libtool automake cmake carthage cocoapods - Run carthage bootstrap in the project root directory:
carthage updatethencarthage bootstrap --platform iOS(this may take some time) - Run pod install in the project root directory:
pod install - Open
.xcworkspacefile in Xcode. - Build & Run.
License
MIT